Sometimes you just want to have chocolate with chocolate and perhaps some chocolate on the side. If that’s you right now, then you’re in luck as this recipe is exactly for that occasion! No faffing around with berries and bananas, this one tastes of pure chocolate. Fortunately everything in this recipe is healthy, so unless you decide to devour all of them by yourself in one day, they should do you no harm.
Raw chocolate cupcakes
(Makes 6-7 medium cupcakes.)
Cupcake base:
60 g dates
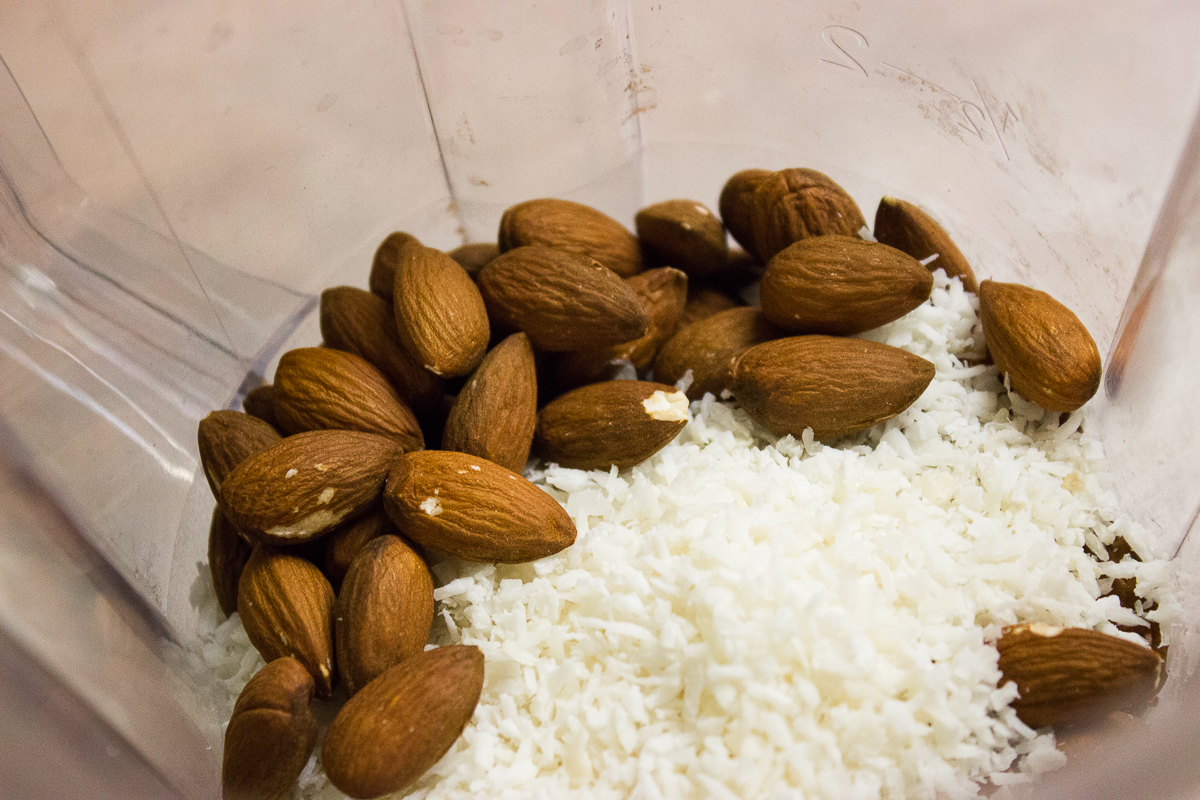
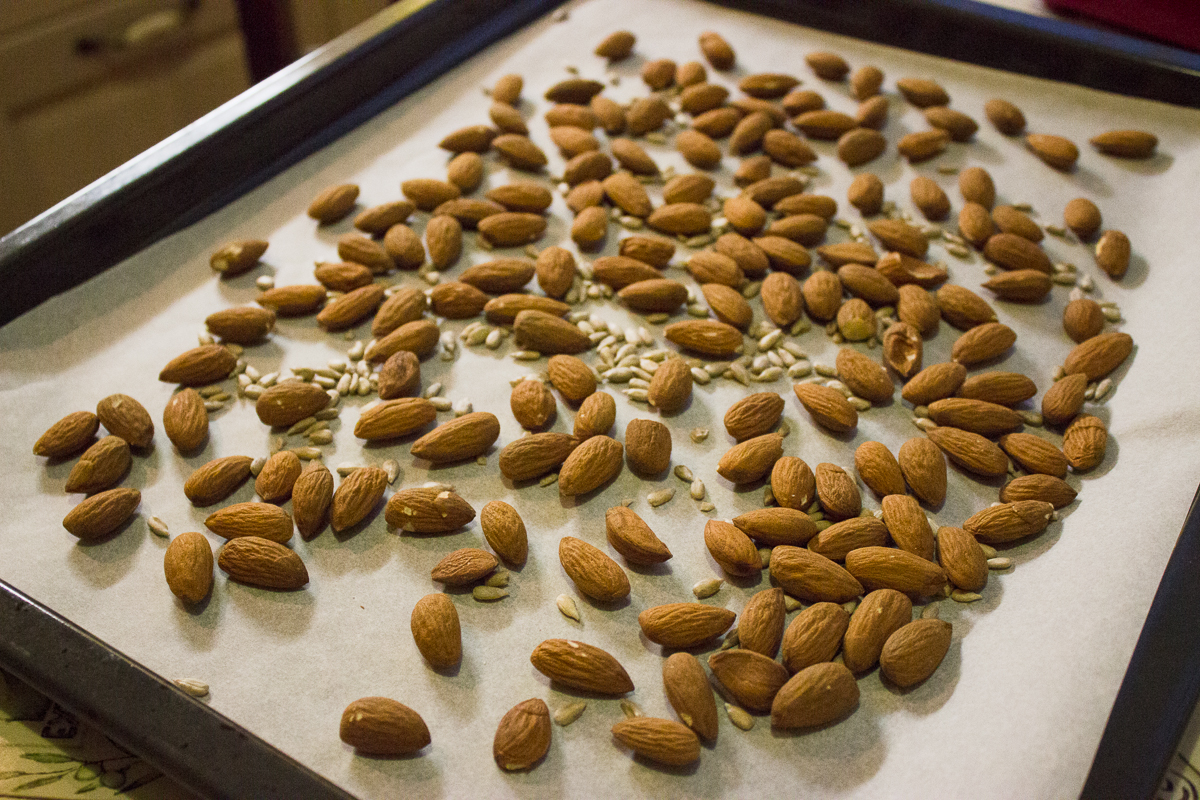
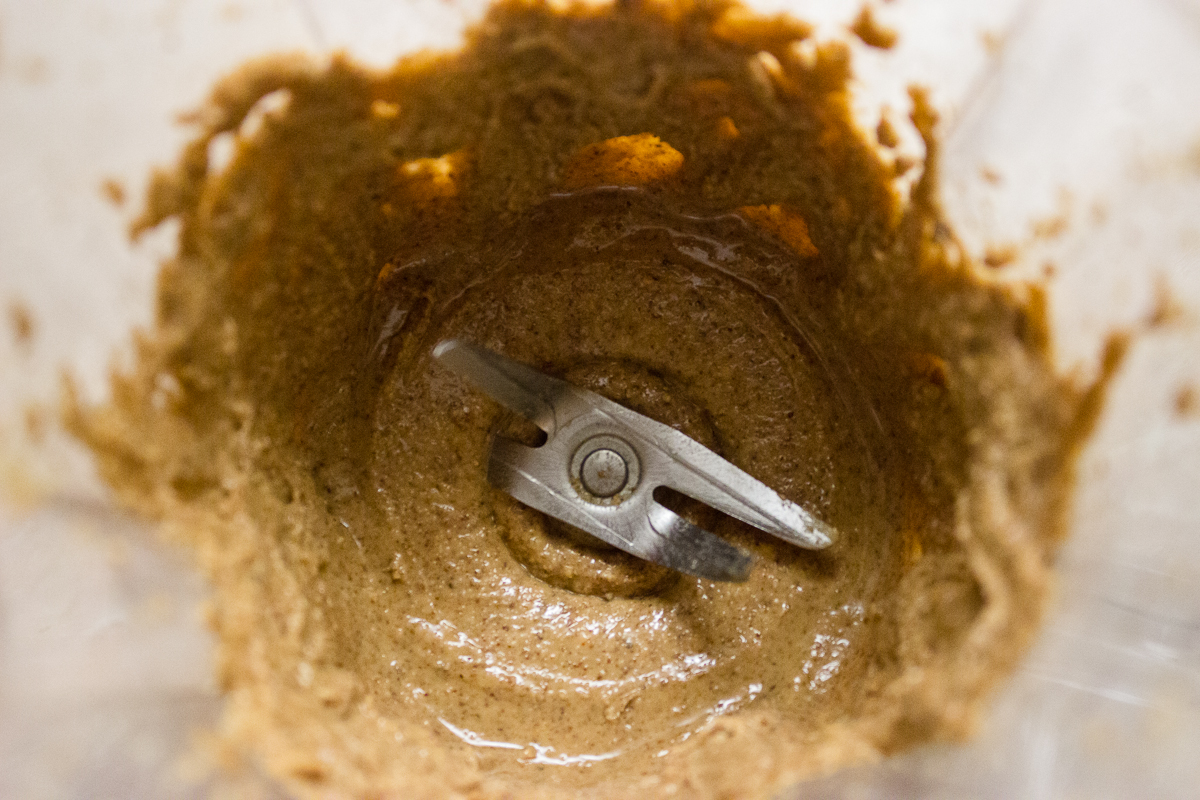
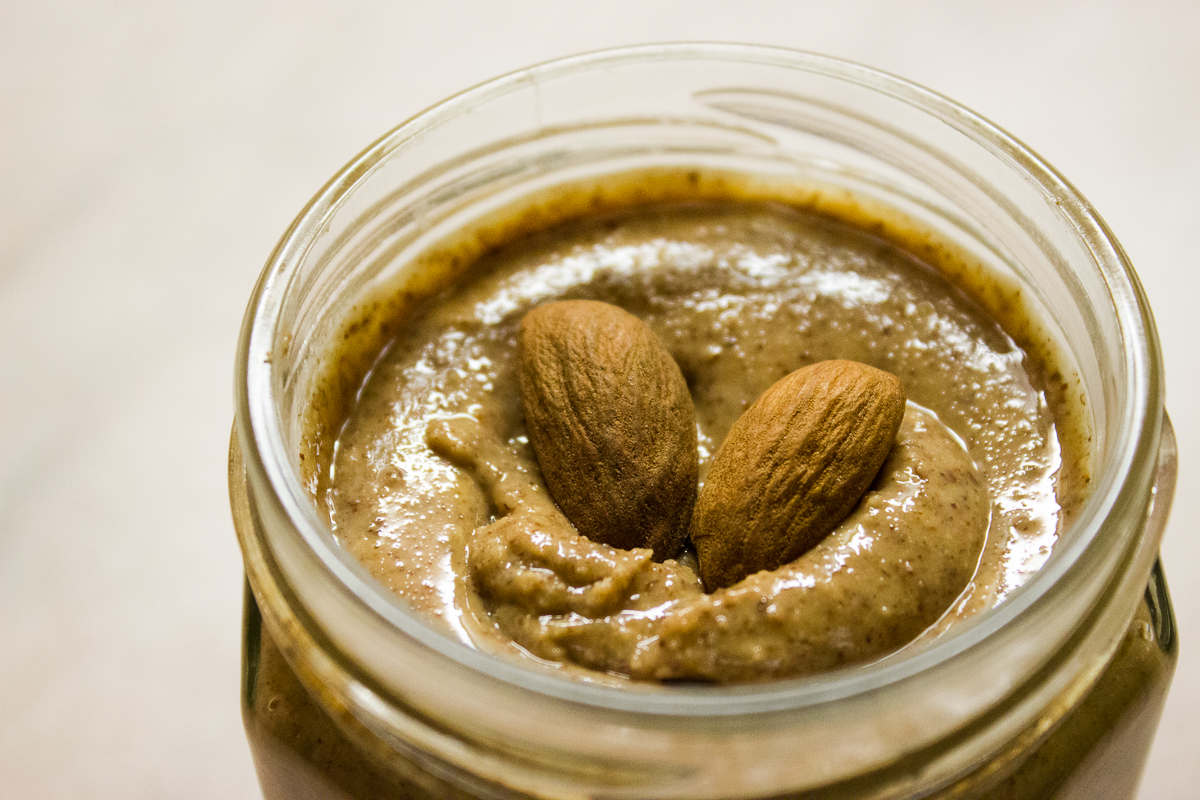
50 g almonds
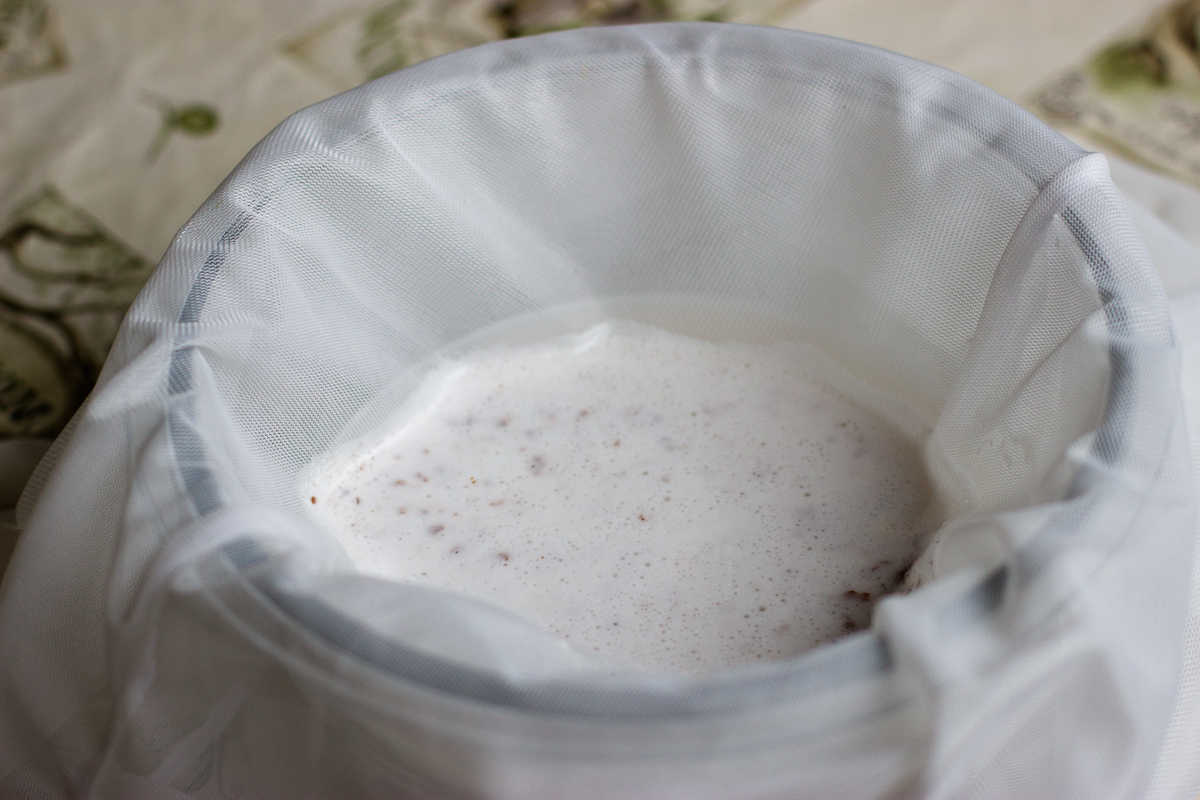
40 g almond meal (either just flour or pulp from making almond milk)
25 g coconut flour
3 tbsp cacao powder
0.5 tbsp pure vanilla powder
some coconut oil + almond milk (the latter can be replaced with water if needed)
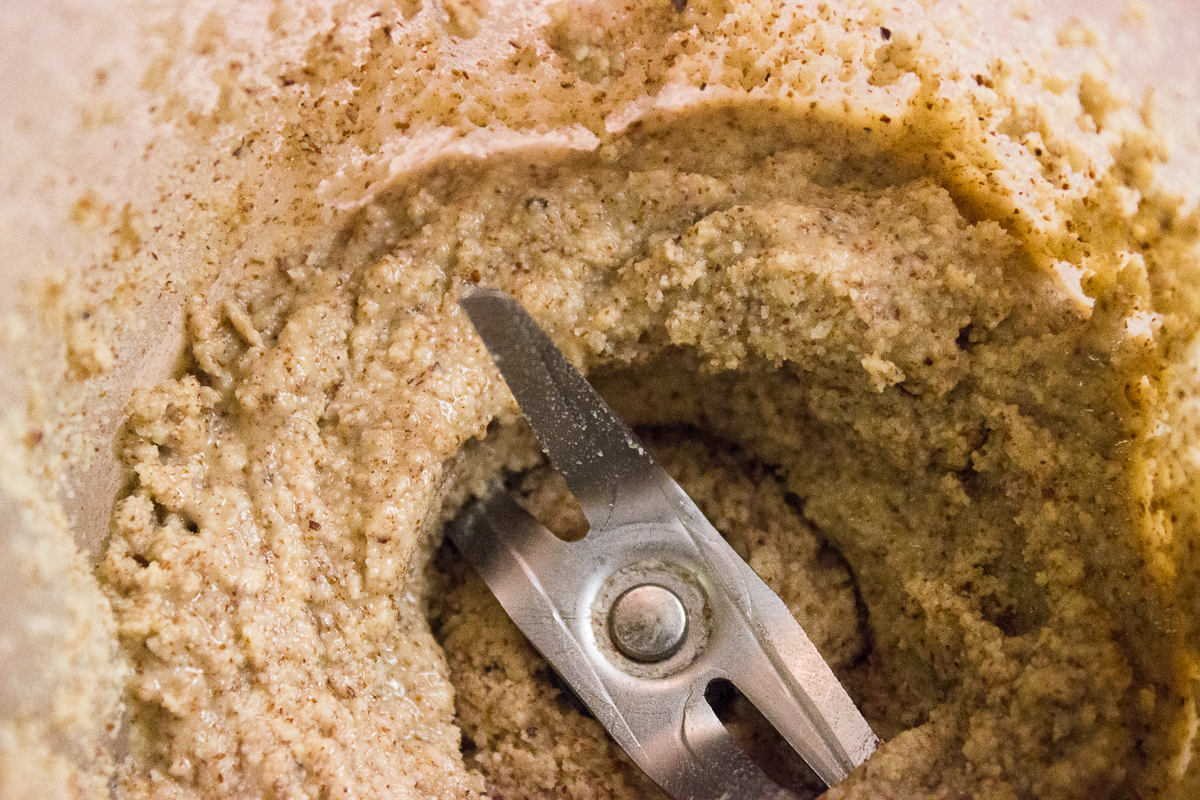
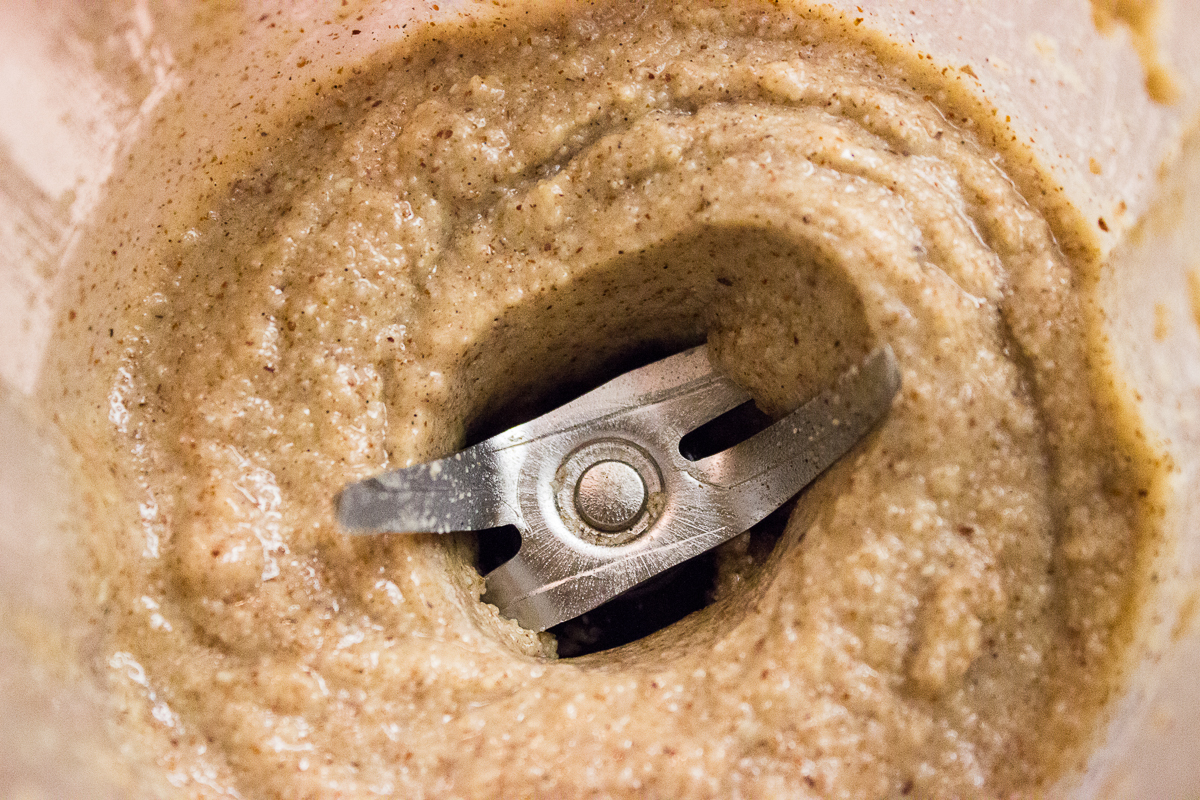
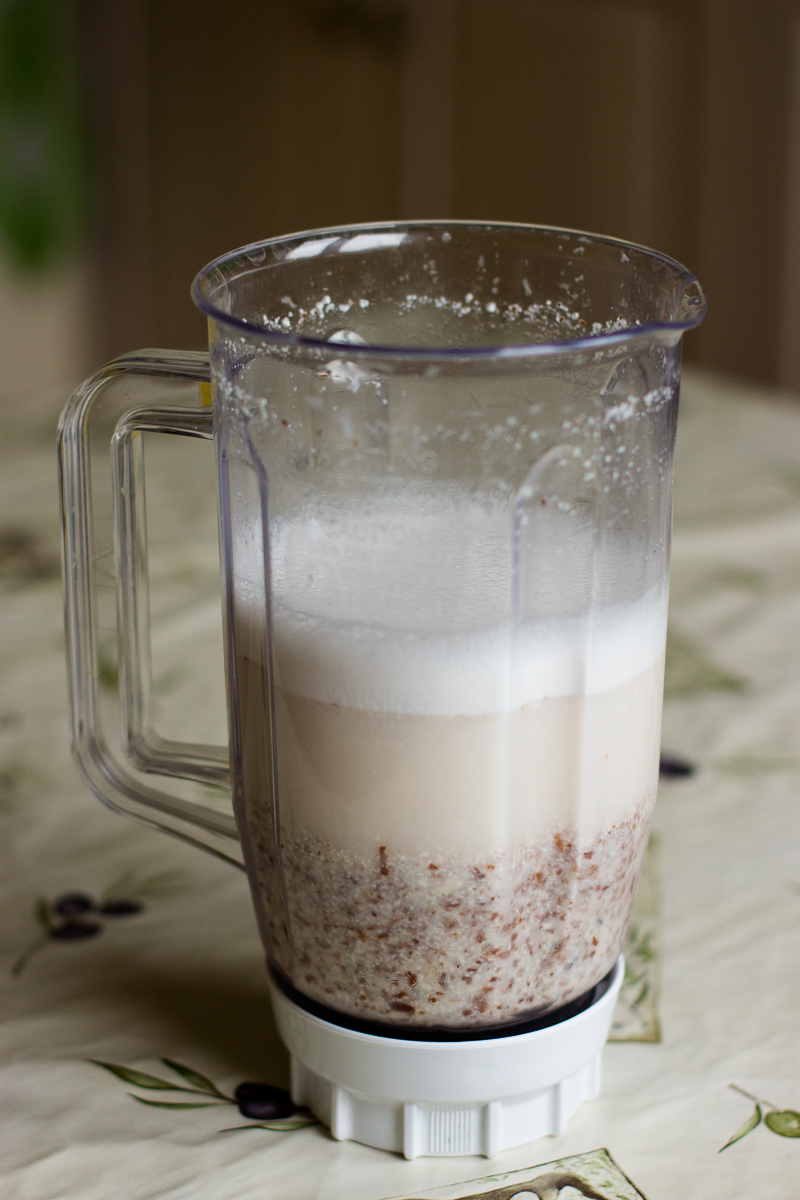
Blend the almonds and dates until they form small crumbs. Then add all other ingredients with about 1 tbsp of coconut oil and as much almond milk (or water) as is needed to blend everything into a slightly moist crumbly mixture. If you just made almond milk and are now using wet meal from that, you probably won’t need any milk. Don’t go for the same texture as you get in muffin dough – remember, these are raw cakes! So no need to make the dough overly sticky or liquid, it’s ready as long as it stays together with a bit of pushing. So get a spoon and squish a bit of the mixture against the side of the blender – if it sticks together, it’s done!
Now grab muffin forms and distribute the mixture between 7-8 of them. I always make one more than the recipe suggests so the frosting to base ratio is higher. It makes the cupcakes so much “juicier” to eat! After distributing, push the mixture down with a spoon and place the cupcake bases in the freezer while you make the frosting. The freezer step is not compulsory, but it does make it easier to get the cakes out of the forms!
Chocolate frosting:
3 ripe avocadoes
3 tbsp cacao powder
2 tbsp honey (or agave syrup for a vegan option)
Peel and chop your avocadoes, then blend them with cacao powder and sweetener. You can probably get by with two avocadoes if you don’t want mountains of frosting. As it happens, I do want mountains, so I made a bigger portion. I even had some left over to mix with my goat milk ice cream later! (Yes, goat dairy is the only kind I can have. I’m getting used to the taste :))
You may want to use a hand blender for making the frosting. I tried in my trusty blender, but it kept leaving green chunks and that’s definitely not what you want in a chocolate frosting. So I scooped everything out (just like last time) and used a hand blender, it made the frosting nice and shiny. When you’re done, spoon it into a piping bag. Have none? You can just spoon the mixture on the cupcakes for a different look.
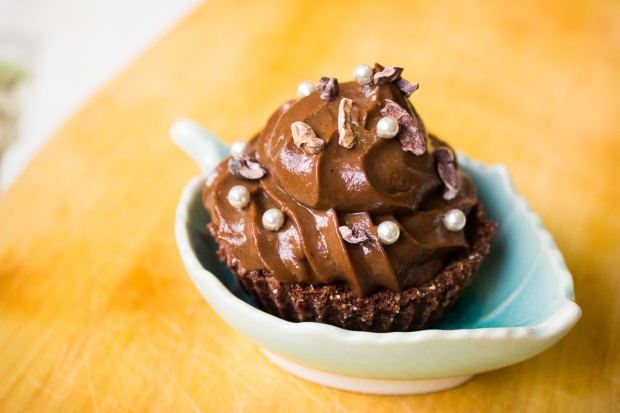
Pipe the frosting on the cupcakes and decorate as desired. I used cacao nibs for some extra chocolate. One cupcake got special silver decorations as well, since this one went to my grandma for her birthday. She asked everyone not to bring anything, so I was a rebel and brought a tiny cake just for her. After all, could you say “no” to a birthday cake like this?